Free Shipping on Orders over $75
★
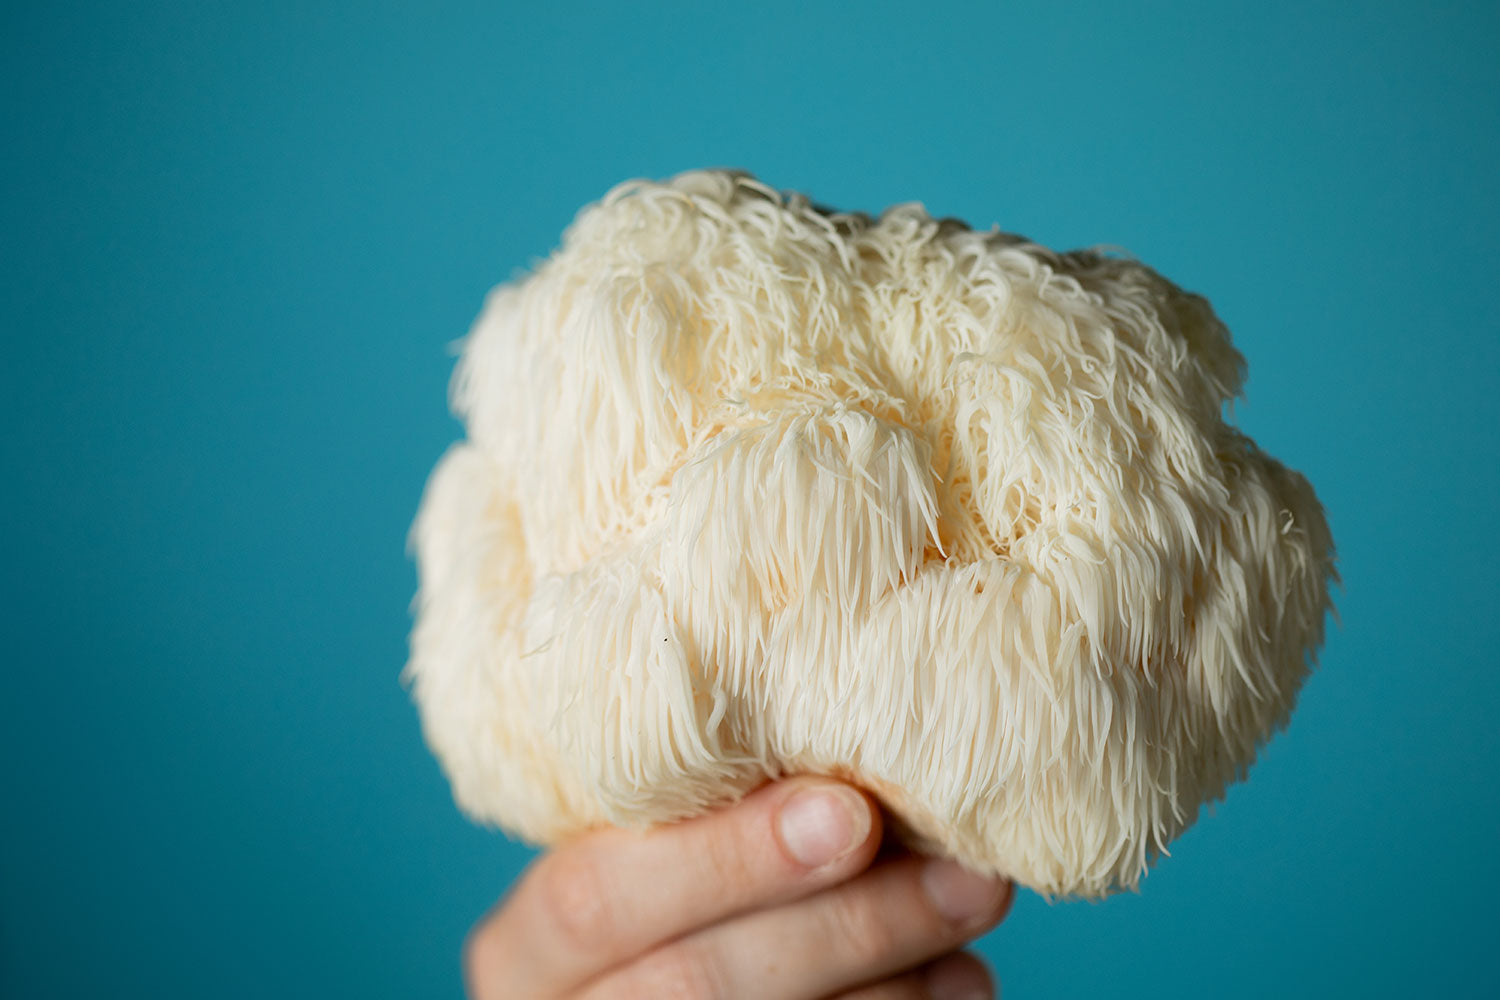
Free Lion's Mane Gummies on Orders Over $150!
★
Introduction to Agar Plate Preparation for Mushroom Cultivation
5 minute read

Mushroom cultivation is a fascinating endeavor that involves careful preparation and nurturing of agar plates. Agar, a jelly-like substance derived from seaweed, provides the perfect medium for mushroom spore germination and growth. In this article, we will guide you through the step-by-step process of preparing agar plates for mushroom cultivation. By following these instructions, you will be well on your way to creating a thriving mushroom cultivation project of your own.
Gathering Your Supplies
Before you begin, it's important to gather all the necessary supplies for agar plate preparation. This will ensure a smooth and efficient process. Here is a list of the items you will need:
- Agar powder or pre-made agar plates
- A pressure cooker or autoclave for sterilization
- A large pot for heating and cooling the agar mixture
- Mushroom spores or cultures
- A clean and sterile workspace
- Disposable gloves
- Labels and marker for identifying agar plates
Once you have gathered all your supplies, you are ready to begin the agar plate preparation process.
Step 1: Preparing the Agar Mixture
The first step in agar plate preparation is to create the agar mixture. This mixture will serve as the base for the growth of mushroom spores. To prepare the agar mixture, follow these steps:
- Measure the desired amount of agar powder according to the manufacturer's instructions.
- In a large pot, add the agar powder to the appropriate amount of water. The ratio of agar to water may vary depending on the brand and type of agar you are using.
- Stir the mixture thoroughly to ensure the agar powder is fully dissolved in the water.
- Place the pot on a stovetop and heat the mixture over medium heat. Stir continuously to prevent the agar from sticking to the bottom of the pot.
- Continue heating the mixture until it reaches a boil. Once it boils, reduce the heat to low and simmer for a few minutes.
Once the agar mixture is prepared, it's time to move on to the next step: sterilization.
Step 2: Sterilizing the Mixture
Sterilization is a critical step in agar plate preparation to eliminate any potential contaminants that could hinder the growth of your mushroom cultures. To sterilize the agar mixture, you can use a pressure cooker or an autoclave. Follow these steps:
- Transfer the agar mixture to sterilizable containers, such as culture tubes or petri dishes, leaving enough headspace for the agar to expand when heated.
- Place the containers in a pressure cooker or autoclave and ensure they are securely sealed.
- Follow the manufacturer's instructions for sterilizing agar. The recommended pressure and time will vary depending on the specific type of agar being used.
- Allow the pressure cooker or autoclave to cool down naturally before opening the lid. Opening it too soon can result in contamination.
Remember to always follow proper safety precautions when dealing with high-pressure devices. Once the sterilization process is complete, it's time to cool down the agar mixture.
Step 3: Cooling the Agar
Safely remove the sterilized agar from the pressure cooker or autoclave and allow it to cool down to a suitable temperature for pouring. Cooling agar too quickly can result in condensation on the plates, which can inhibit growth. Here are the steps to cool down the agar:
- Place the agar plates in a clean and sterile environment where they can cool down undisturbed.
- Allow the agar to reach room temperature or slightly below before moving on to the next step.
- While the agar is cooling down, wear disposable gloves to maintain a sterile environment and prevent any contamination.
Once the agar has cooled down sufficiently, it's time to proceed to the next step: pouring the agar into plates.
Step 4: Pouring the Agar into Plates
Pouring the agar into plates is a delicate process that requires patience and precision. Follow these steps to ensure a successful pour:
- Using aseptic technique, carefully pour the agar into the petri dishes or culture tubes, filling them about halfway.
- Slowly rotate the plates in a circular motion to ensure even coverage.
- Allow the agar to solidify completely before proceeding to the next step. This usually takes around 20-30 minutes.
- Once the agar has solidified, close the plates with their respective lids.
With the agar successfully poured into plates, the next step is sealing and storing them.
Step 5: Sealing and Storing the Agar Plates
Sealing and storing the agar plates is crucial to maintaining a sterile environment for the growth of mushroom cultures. Follow these steps to ensure proper sealing and storage:
- Using a sterile marker, label each plate with the date and any relevant information, such as the type of mushroom spores used.
- Carefully remove any excess condensation from the lids to prevent pooling of water, which can lead to contamination.
- Securely seal the plates using parafilm or another appropriate sealing material.
- Store the agar plates in a cool and dark location, such as a refrigerator, until they are ready to be inoculated.
By properly sealing and storing the agar plates, you are creating an optimal environment for the growth of mushroom cultures.
Troubleshooting Common Issues
Despite following the steps outlined above, issues may still arise during agar plate preparation. Here are some common problems and their possible solutions:
- If condensation forms on the underside of the lid, gently wipe it away with a sterilized cloth or paper towel.
- If mold or other contaminants appear on the agar plates, discard them immediately and thoroughly clean your workspace and equipment.
- If the agar fails to solidify or remains soft, double-check your measurements and agar-to-water ratios. Additionally, ensure that the agar was heated to the appropriate temperature during the preparation process.
Next Steps: Inoculating Your Agar Plates
Now that your agar plates are prepared and ready, the next step is to inoculate them with mushroom spores or cultures. This process involves carefully transferring a small amount of spores onto the agar surface. Stay tuned for our next article, where we will guide you through the process of inoculation.
Conclusion
Preparing agar plates for mushroom cultivation is a fundamental step in the journey of growing your own mushrooms. By following the steps outlined in this article, you will have a solid understanding of how to prepare agar plates and ensure a sterile environment for mushroom culture growth. Remember, attention to detail and proper sterilization are key to successful agar plate preparation. Happy mushroom cultivating!
Leave a comment
All comments are moderated before being published.


